SNMP Devices Configuration
Steps to configure SNMP Enabled Device
Steps for SNMP Manager Config
Login to Sixthsense portal and look for Integration tab in side navigation pane.
Click on configure in SNMP Manager to monitor SNMP devices.
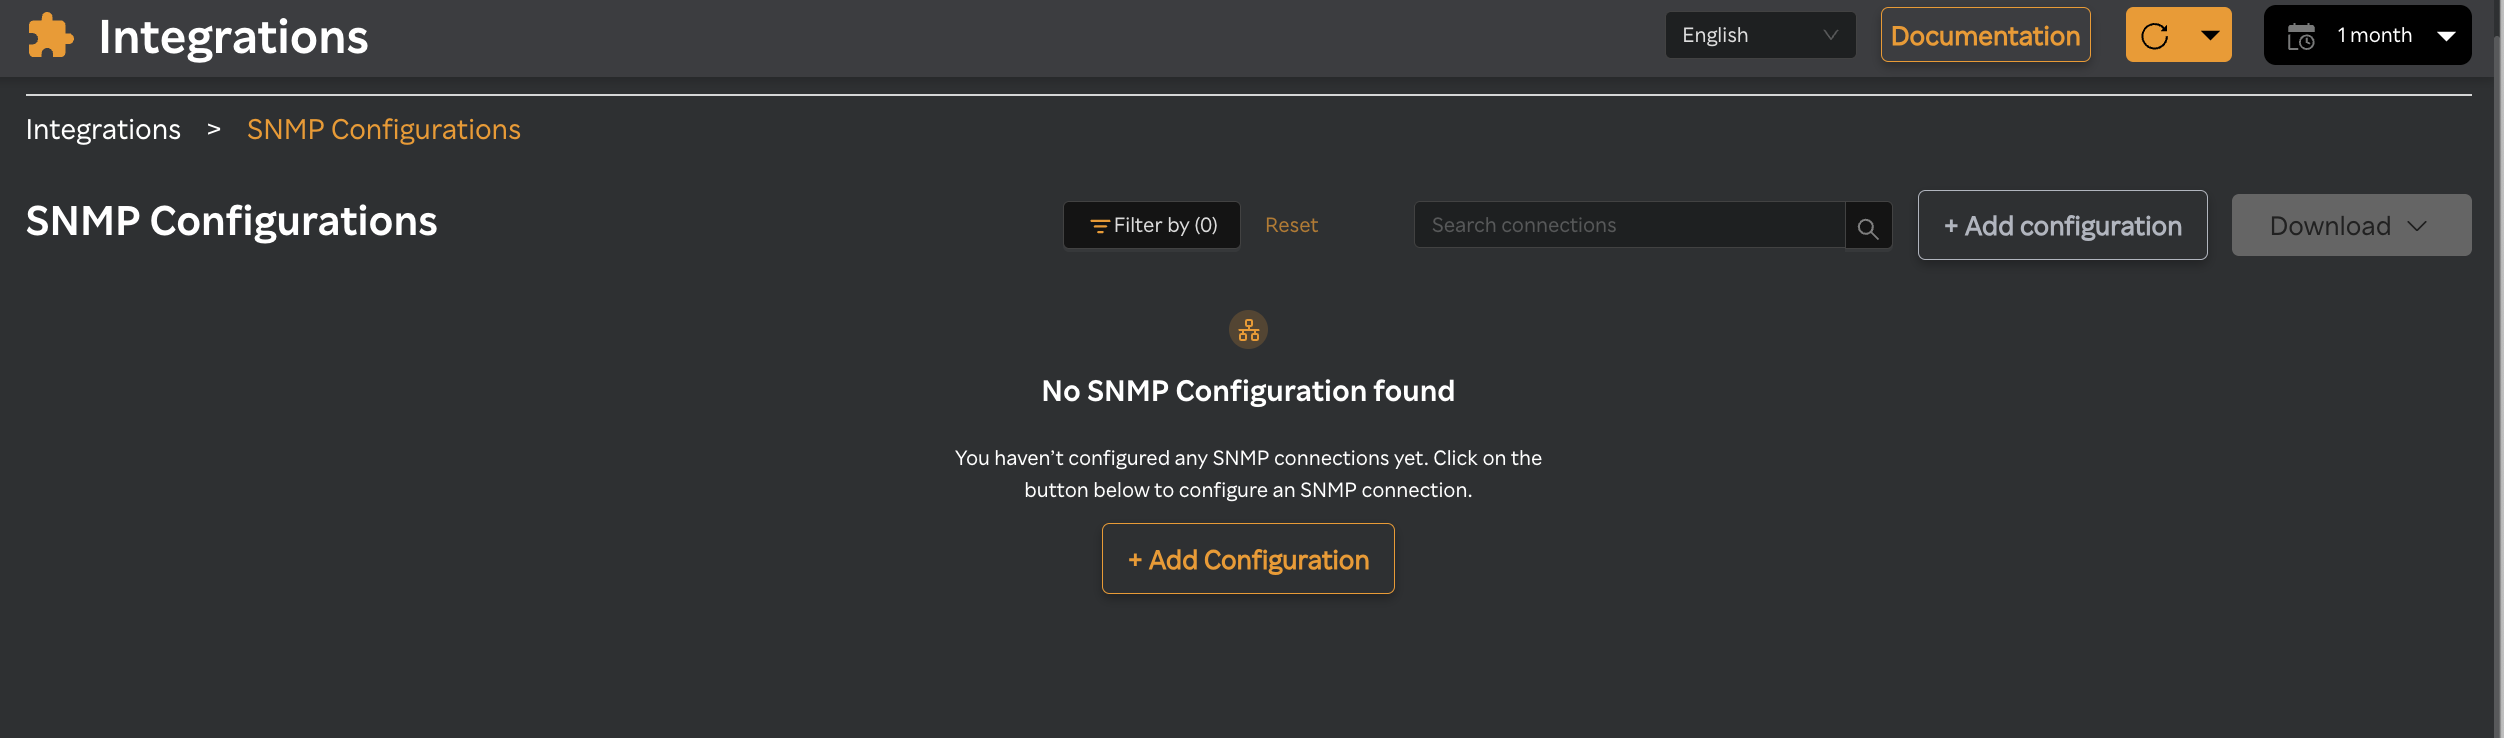
Click on + Add Configuration
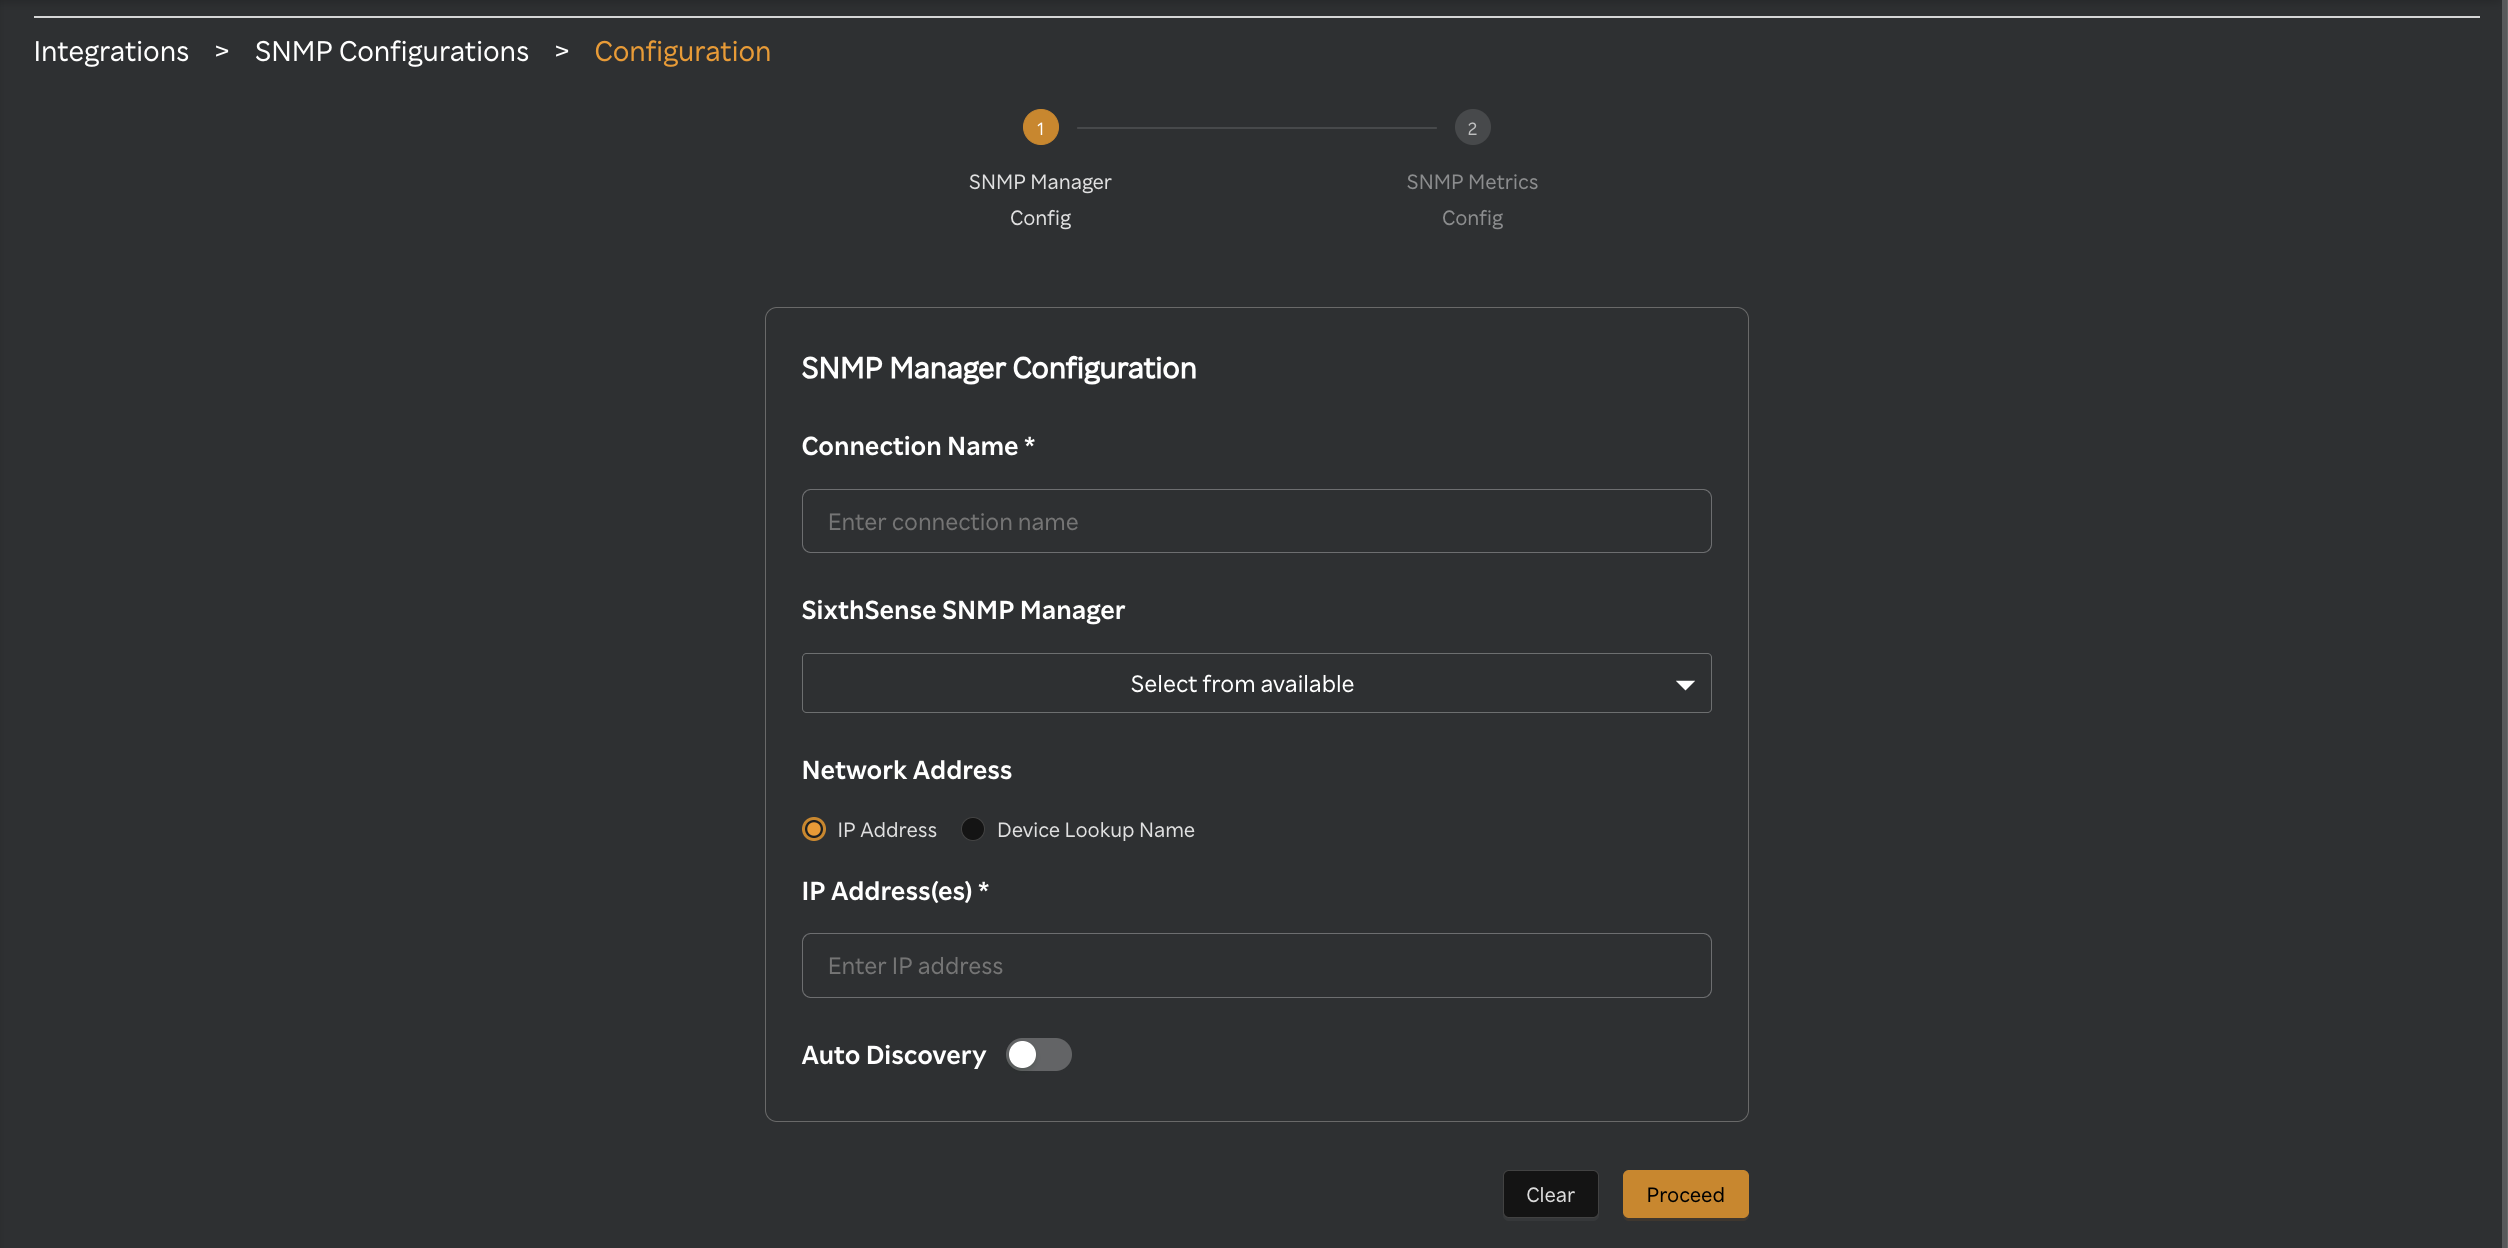
Provide Connection Details. Enter the required informaFon, including:
Connection name: Provide the meaningful name for the connection name
Sixthsense SNMP Manager: Select the SNMP manager agent from the available list.
Network Address:
- IP Address(es): Provide Exact IP Address or Range of IP Addresses or Wild Card
IP Address Type IP Address Format Example Description IPv4 Wild Card 192.168.1.* This will monitor all IP addresses in the 192.168.1.x subnet, such as 192.168.1.1, 192.168.1.2, ..., 192.168.1.255 IPv4 Range of IP Addresses 192.168.1.10 - 192.168.1.20 This will include IPs such as 192.168.1.10, 192.168.1.11, ..., 192.168.1.20 IPv4 Exact IP Address 192.168.1.15 Only the device with this specific IP address (192.168.1.15) will be monitored. IPv4 Exact IP Address(es) 192.168.1.15,192.168.1.16 Only the device with this comma separated specific IP addresses (192.168.1.15,192.168.1.16) will be monitored. max Ip addresses monitored 50 with comma separated IPv6 Exact IP Address(es) 2001:0db8:0000:0000:0000:ff00:0042:8329,2001:0db8:0000:0000:0000:ff00:0042:4536 Only the device with this comma separated specific IP addresses (2001:0db8:0000:0000:0000:ff00:0042:8329,2001:0db8:0000:0000:0000:ff00:0042:4536) will be monitored. max Ip addresses monitored 50 with comma separated. (Wild cards & Range of IP Addresses are not supported in IPv6) - Device Name Lookup: Provide the Domain Name System that resolves/converts in to IP Address for monitoring.
Auto Discovery: Enable this button to auto-discover devices within the IP range/wild card selected in above step 3. It simplifies the onboarding process by identifying devices and their attributes without manual input.
- Auto Discovery Duration (min): Enter the value in minutes.
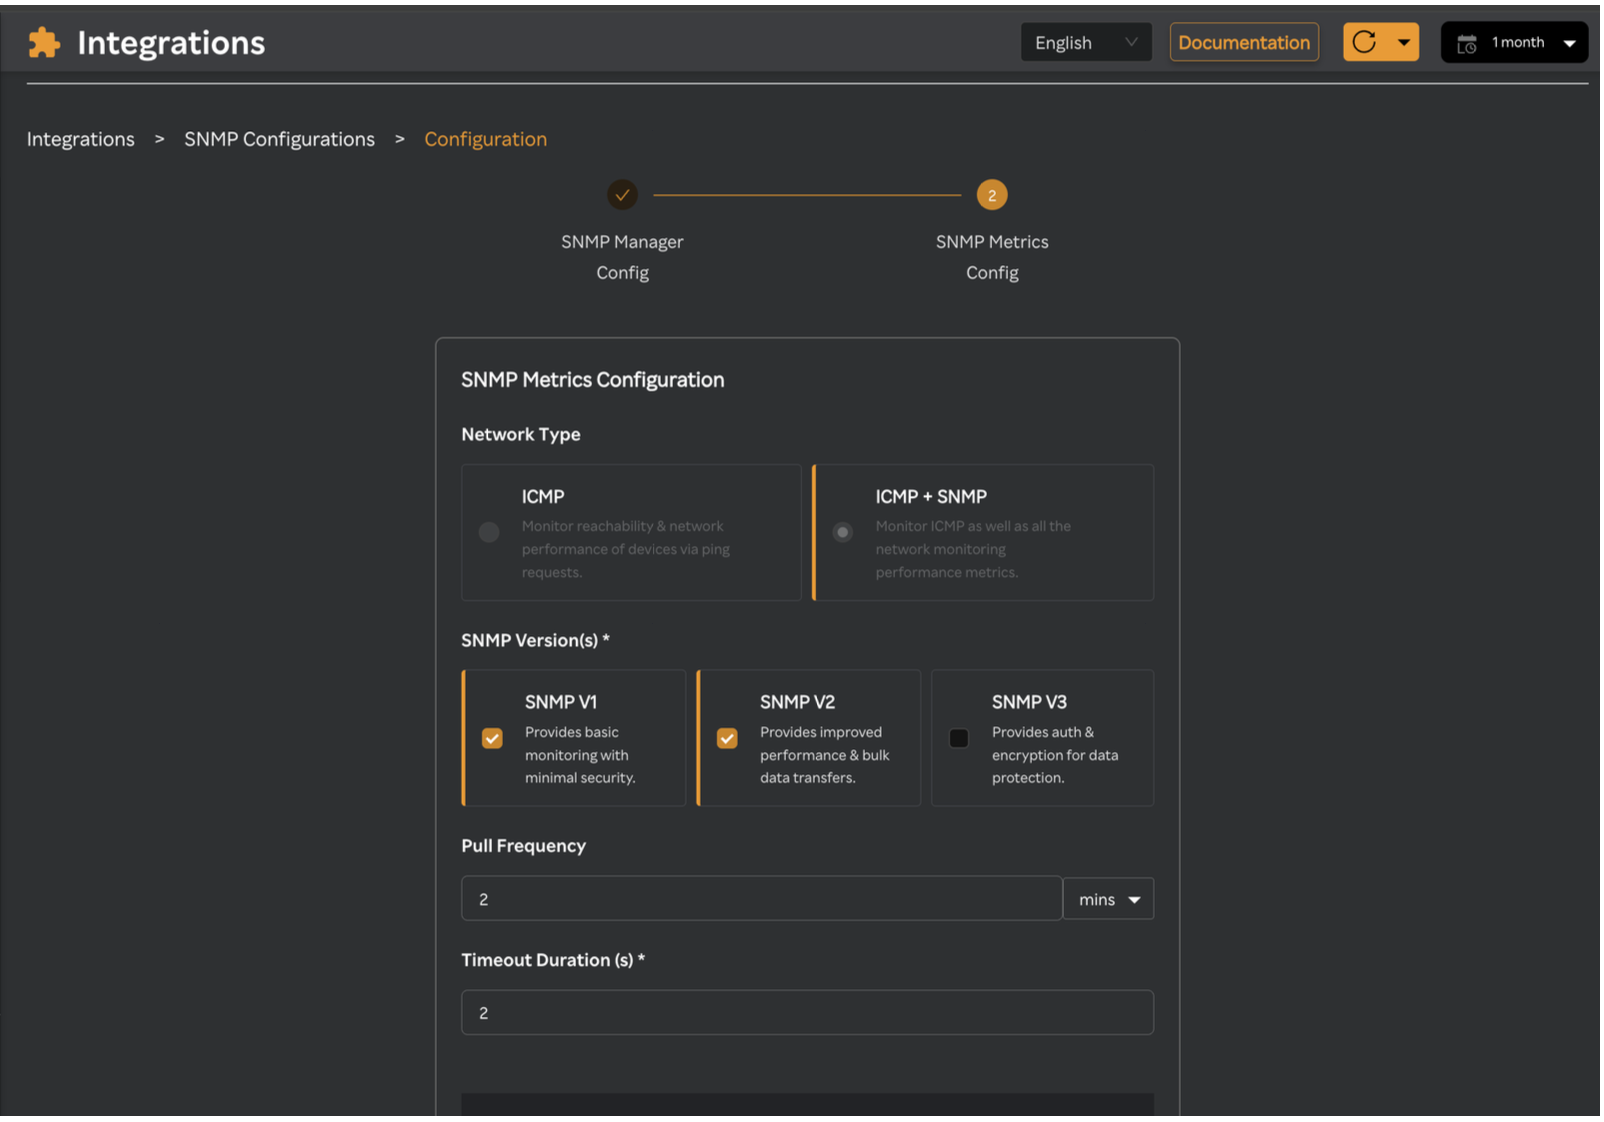
Steps to configure SNMP Metrics Config
- Network Type:
- ICMP: Select ICMP to check the reachability and network performance of devices via ping requests. Basically only few metrics:
- Device Availability: Determines if the device is reachable.
- Latency (Round-Trip Time): Measures the time taken for packets to travel to the device and back.
- Packet Loss: Indicates network quality issues or connectivity problems.
- ICMP+SNMP: Select ICMP+SNMP to as well as all the network monitoring performance metrics from the main dashboard. See SNMP Dashboard
- ICMP: Select ICMP to check the reachability and network performance of devices via ping requests. Basically only few metrics:
- SNMP Version: Select SNMP Version that the devices are using
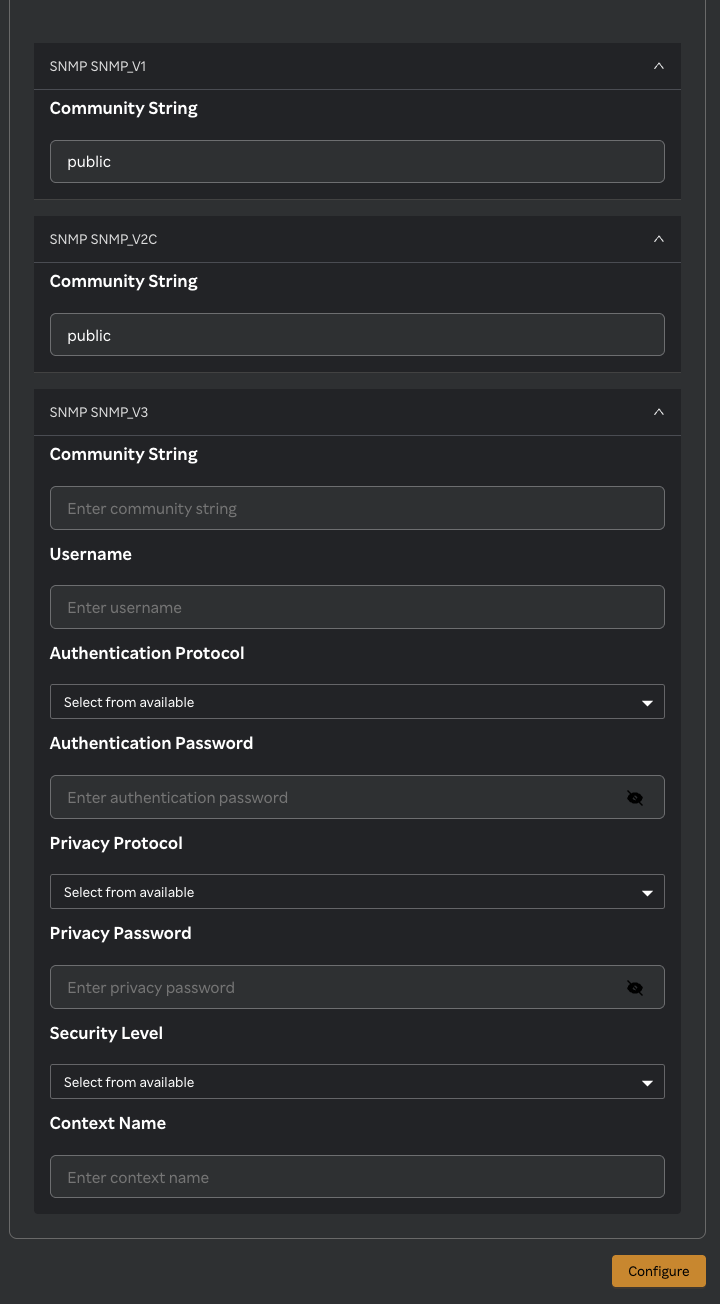
- SNMP v1: The simplest and oldest SNMP version, providing basic monitoring with minimal security. Community String: public, private
- SNMP v2c: Enhanced version of SNMP v1, offering improved performance and bulk data transfers but still uses community strings for security. Community String: public, private
- SNMP v3: A secure version of SNMP that includes authentication and encryption for robust data protection:
- Community String - public, private
- Username - user with which snmp metrics can be polled.
- Authentication Protocol - Select any of these protocols from dropdown: MD5 (Message Digest 5), SHA (SHA-1).
- Authentication Password - Provide the password to authenticate the snmp agent
- Privacy Protocol - Enter any of these protocols: DES (Data Encryption Standard), AES.
- Privacy Password - Provide the privacy password
- Security Level - noAuthNoPriv(No authentication, no encryption), authNoPriv(Authentication only), authPriv(Authentication + encryption)
- Context Name - Context Name in SNMPv3 is a field used to identify a specific collection of management information (MIB data) within an SNMP entity. Eg: default,vlan20
- Pull Frequency: The interval at which Sixthense SNMP Manager agent communicates with network devices to collect metrics and updates. For polling frequency, there will be 2 input fields given to the user:, either of it can be selected. Mins,HRS. Maximum input field for Mins will be 59 and HRS will be 24.
- Timeout Duration (ms): The duration at which our SixthSense Manager agent will wait for a response from an SNMP-enabled device before retrying or marking the attempt as failed
note
- Maximum time out duration can be configured by user should not exceed calculation: (Pull Frequency × 0.1) / 2 ( no.of retries )
- Click on Configure to configure Devices.
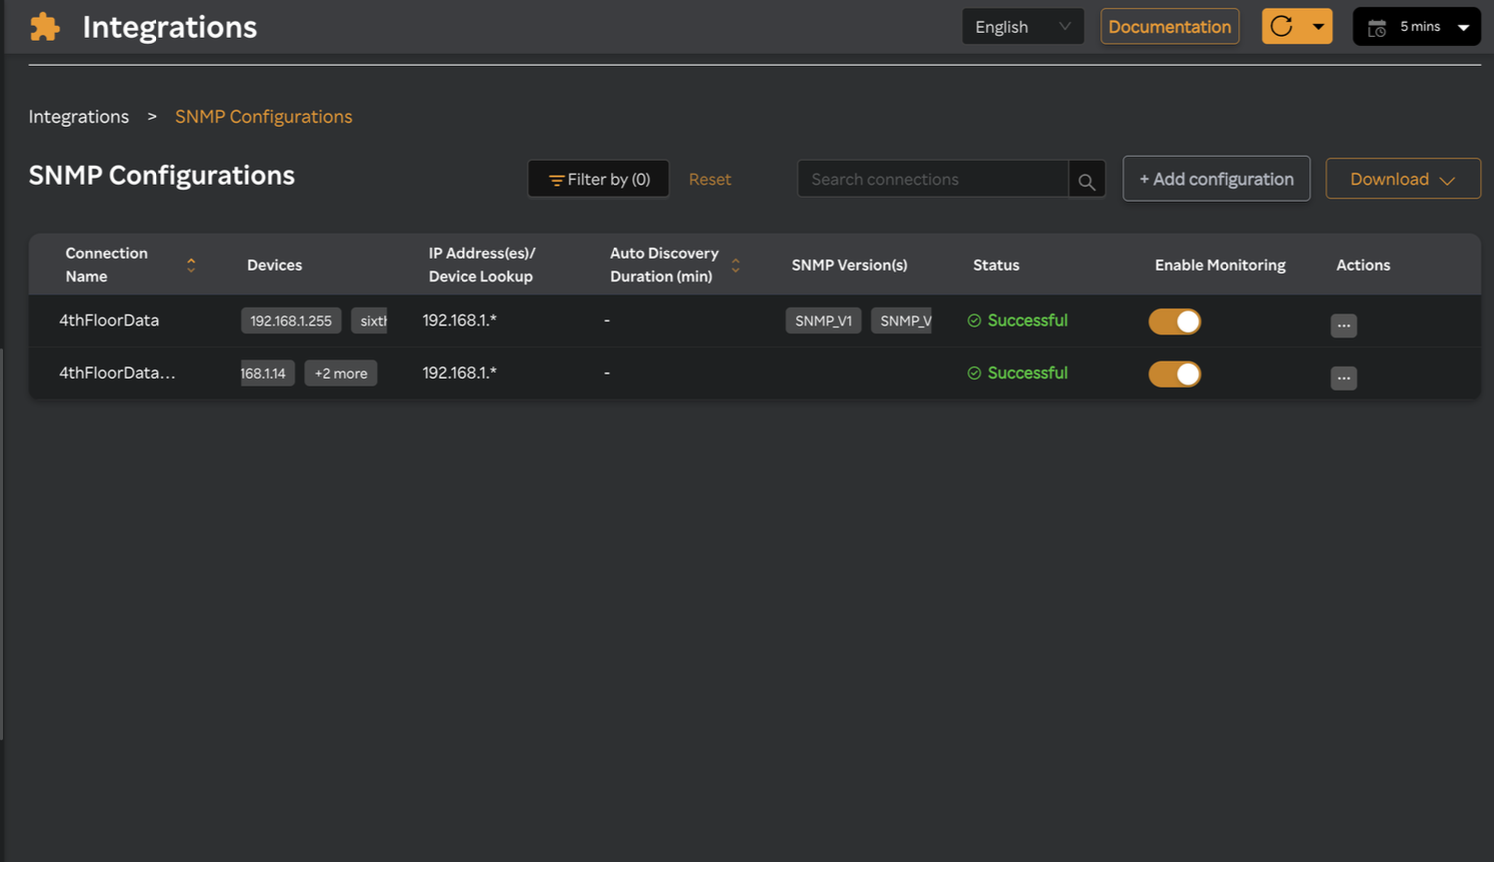
SNMP Configurations
- All the configurations made will be listed in SNMP Configurations tab in Integrations --> SNMP Manager --> Configure
- Enable/Disable Monitoring will allow users to enable or disable monitoring on configured SNMP Devices in a connection.
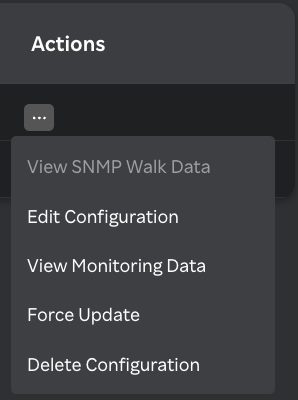
- Click on Actions & below will be displayed:
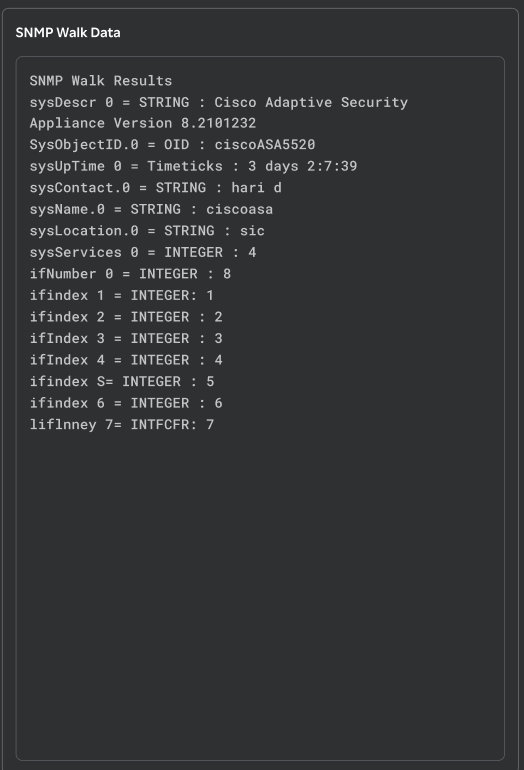
- View SNMP Walk Data - Visualise the SNMP walk for all the devices in that connection.
- Edit Configuration - Click on edit configuration to modify the connection.
- View Monitoring Data - Click on View Monitoring Data to visualise the Network Monitoring Dashboard.
- Force Update - Click on Force Update to update the Connection configuration.
- Delete Configuration - Click on Delete Configuration to delete the connection.