.Net agent
Prerequisites
- For prerequisite checks for agent installation, see Prerequisite checks for agent installation.
- Check connectivity. For more information, see Prerequisites to check connectivity.
- SixthSense Agent - .Net Package. For downloading the agent, see Downloading the .Net agent and initialisation.
- URL/IP of the Sixthsense collector (your tenant URL which will be provided by Customer Support)
- Access token - For accessing the token, see Accessing your Access Token under Getting started with the Observability Portal.
Downloading the .Net agent and initialisation
A single unified agent for both .Net core and full framework is supported. Install the .Net agent using the following procedure.
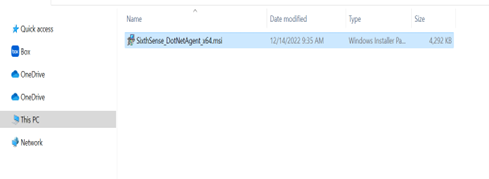
- Download the .Net MSI based agent with the following curl command.
Your local folder screen appears.
note
In case of network restrictions you must add http proxy.
- Double-click or run the SixthSense .Net Agent MSI with Administrator privilege.
The welcome screen appears.
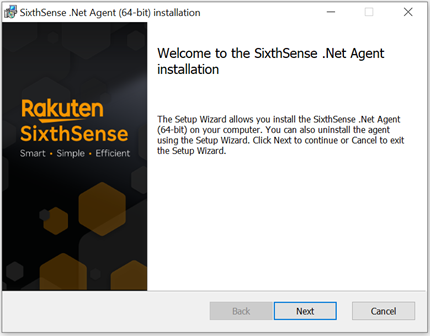
- Click Next.
The End User License Agreement page appears.

Select the checkbox to accept the Apache license’s terms and conditions.
Click Next.
The destination folder window appears.
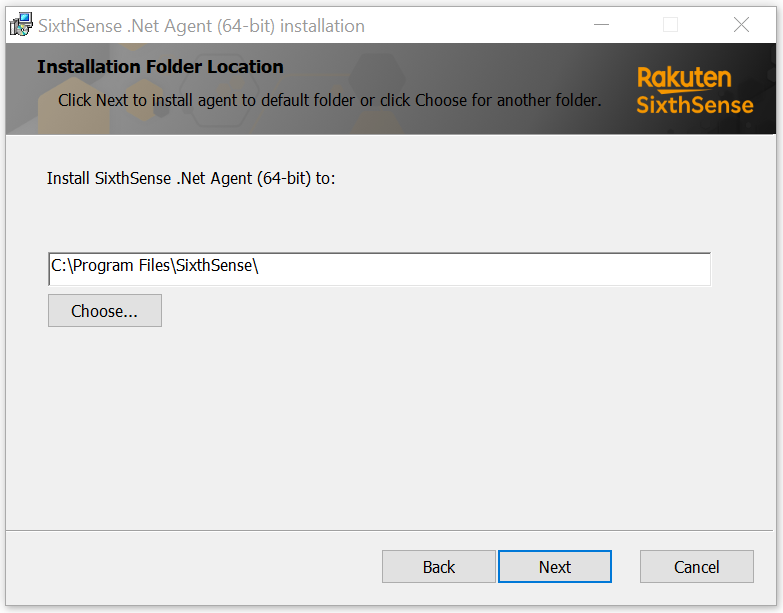
The default folder where the agent will be installed is displayed. Click Change if you want to choose another destination folder.
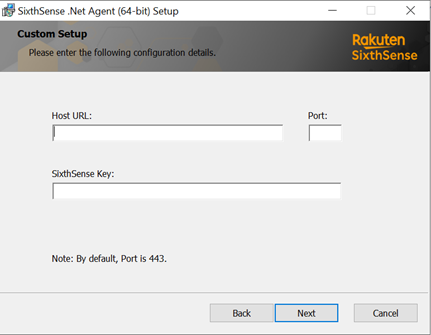
Click Next. The backend configuration page appears.
For connectivity to backend using onecloud private network: https://sixthsense-backend.jpe2-caas1-prod1.caas.jpe2b.r-local.net
For connectivity to backend using intra public network: https://observability-backend-core.sixthsense.rakuten.com
- Enter and configure the HTTP collector HOST URL, collector’s Port Number and Auth License Key to send the metrics from the agent to collector in the respective fields.
For OneCloud Platform perform the following step:
Enter and configure the HTTP collector HOST URL "sixthsense-backend.jpe2-caas1-prod1.caas.jpe2b.r-local.net", collector’s Port Number and Auth License Key to send the metrics from the agent to collector in the respective fields.
Click Next. The installation screen appears.
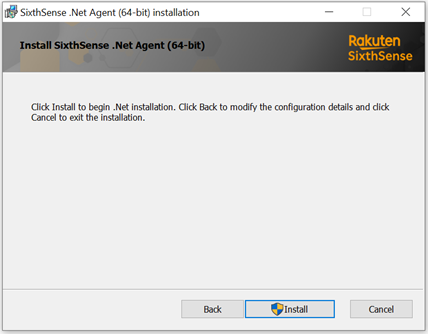
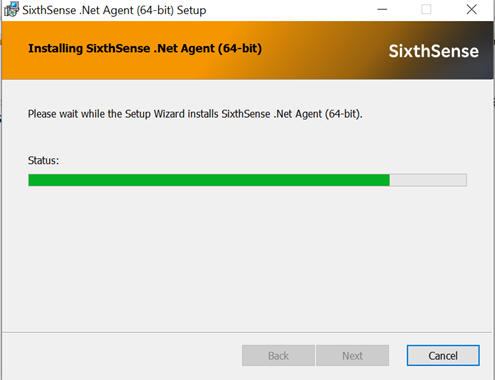
- Click Install to install the agent. The installation begins and you can see the installation status as in the following screen.
The following screen appears to finish the installation.
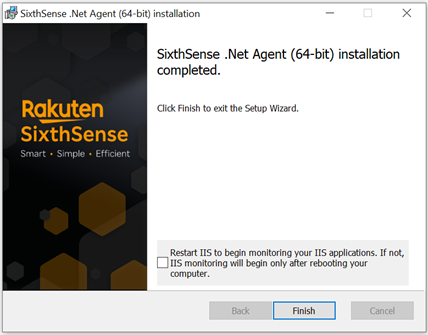
Click Finish.
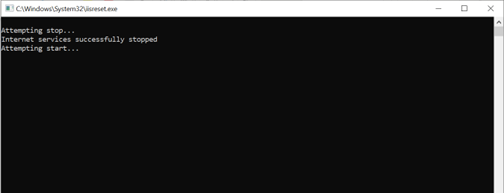
(Optional) Select the checkbox to restart IIS. You can see the status as in the following screen.
Navigate to your local drive > Program Files > SixthSense as in the following screen.
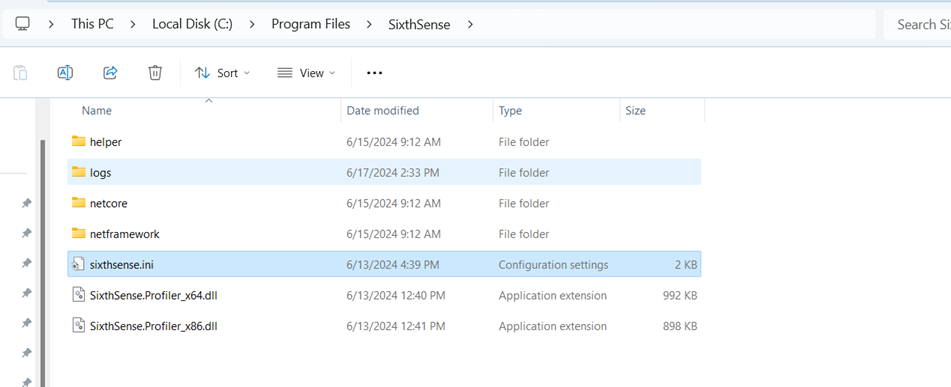
- Edit the sixthsense.ini file for code profiler with the following configuration file.
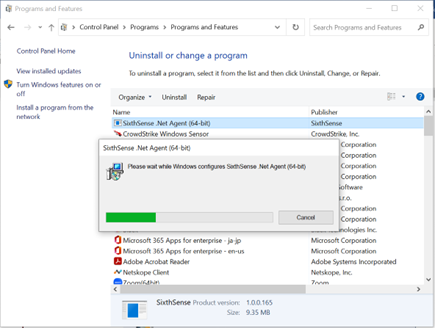
Uninstalling .Net agent
Navigate to Programs and Features > Control Panel.
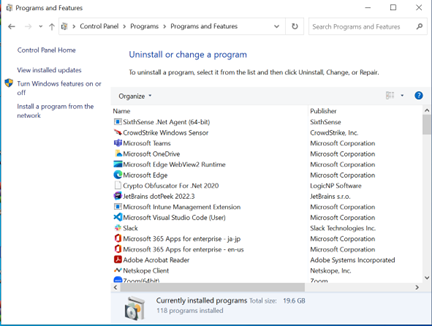
Right-click on SixthSense .Net Agent application and click Uninstall. The uninstallation screen appears as in the following screen.